Last updated November 21, 2026
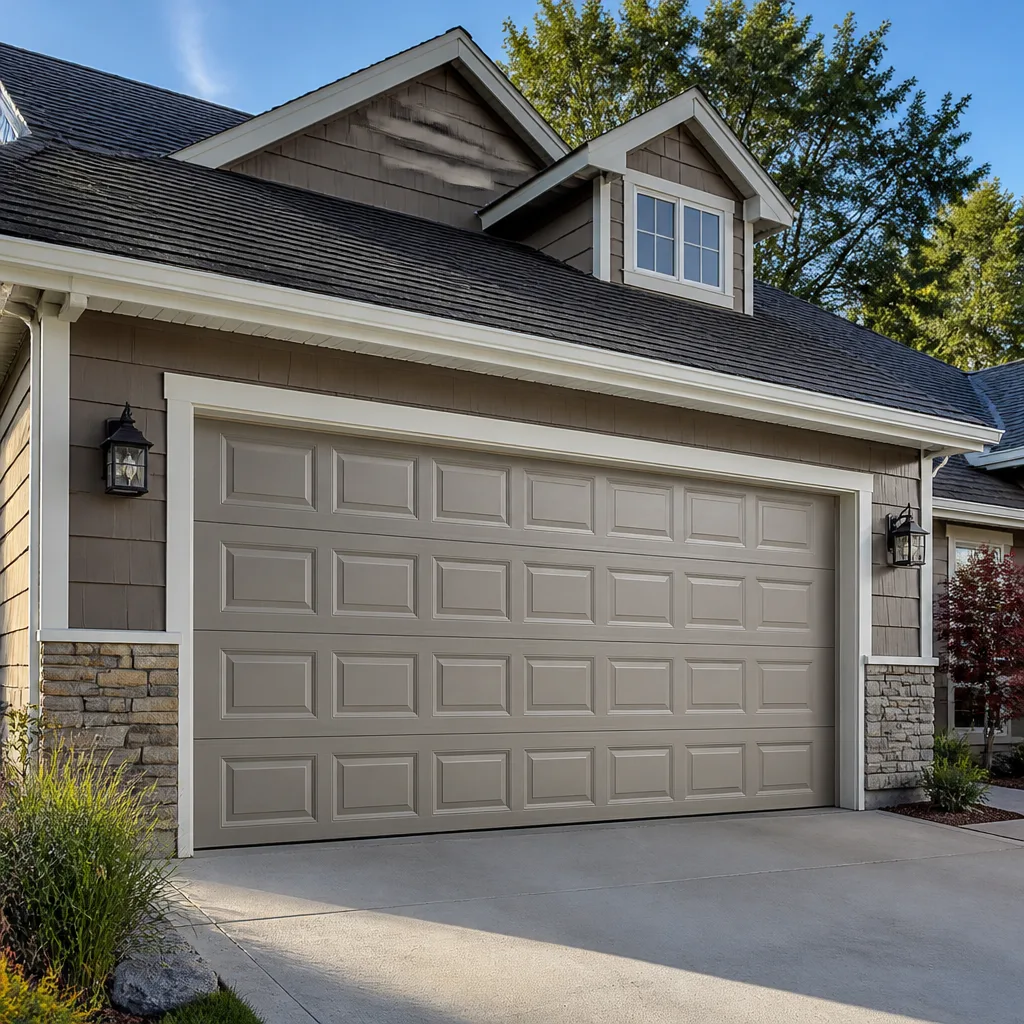 Raised-panel steel
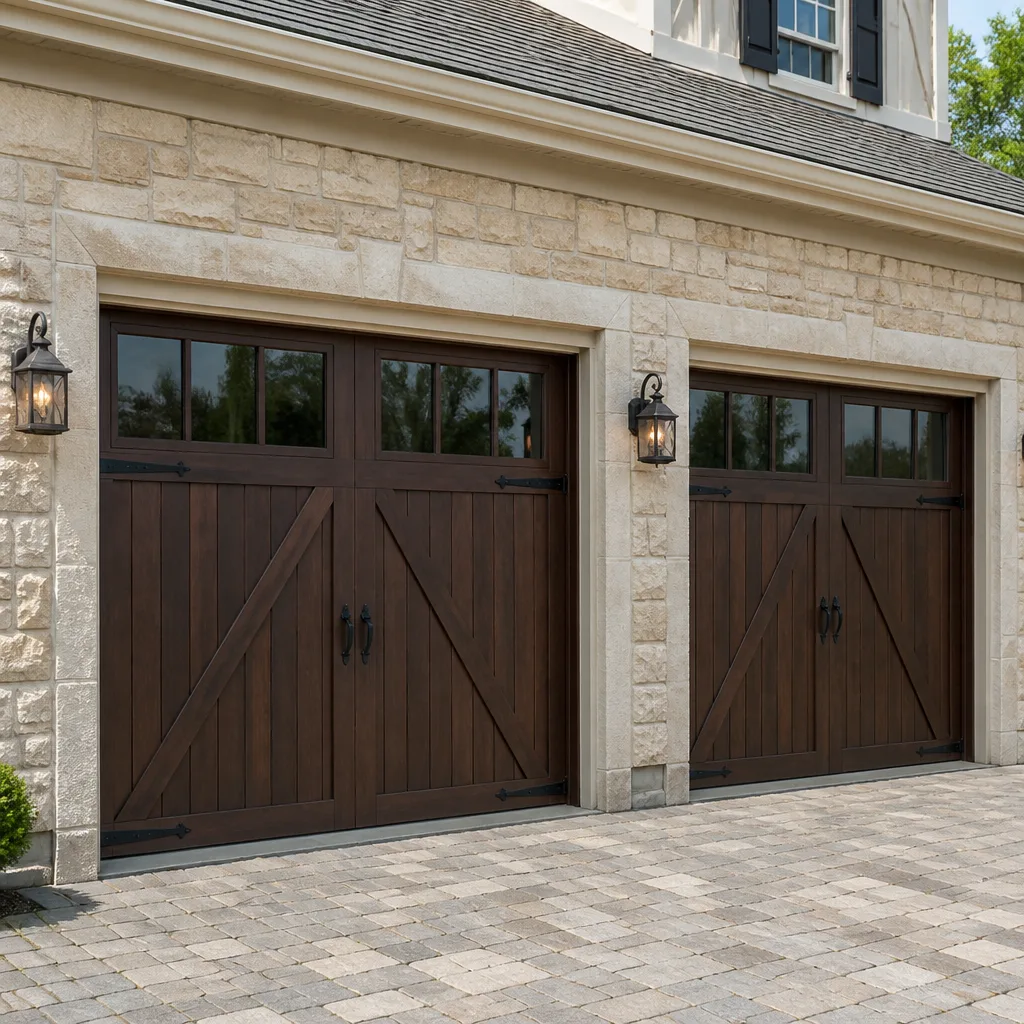 Carriage house
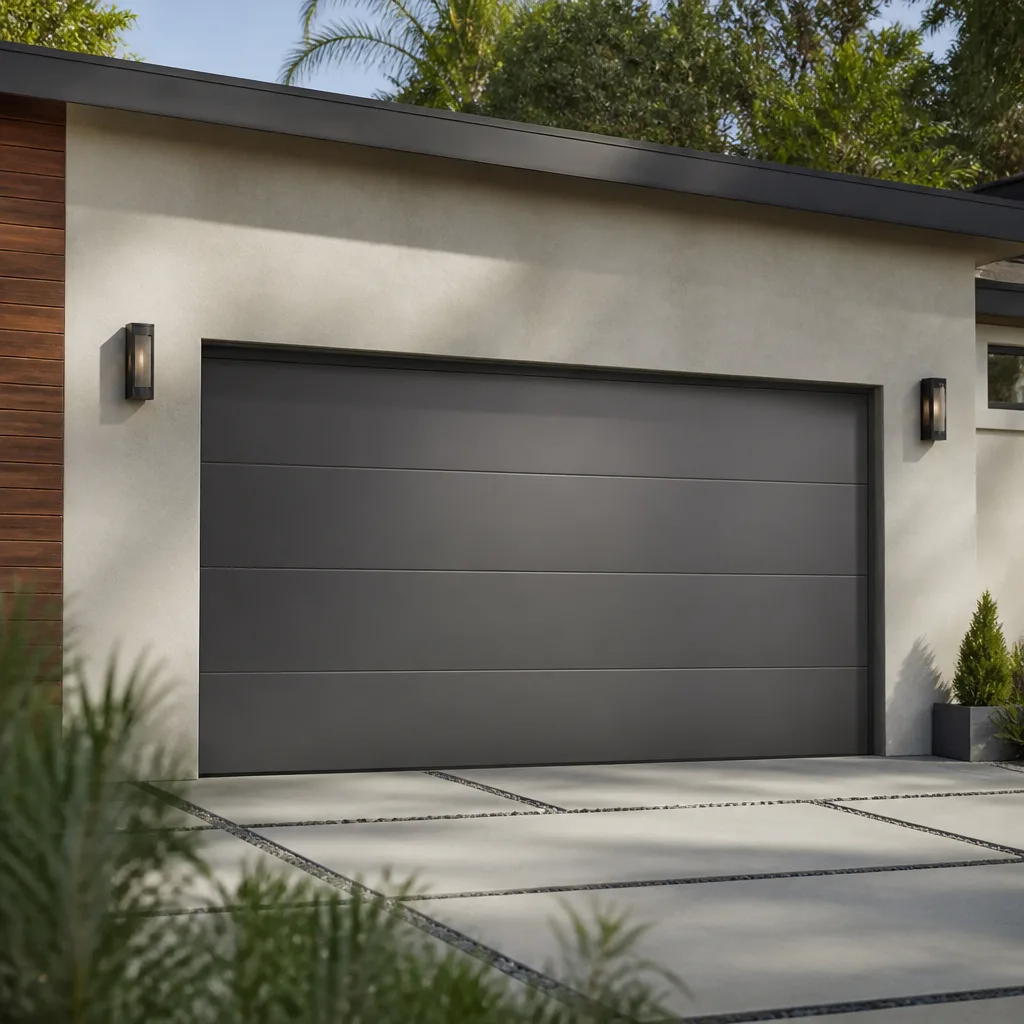 Modern flush
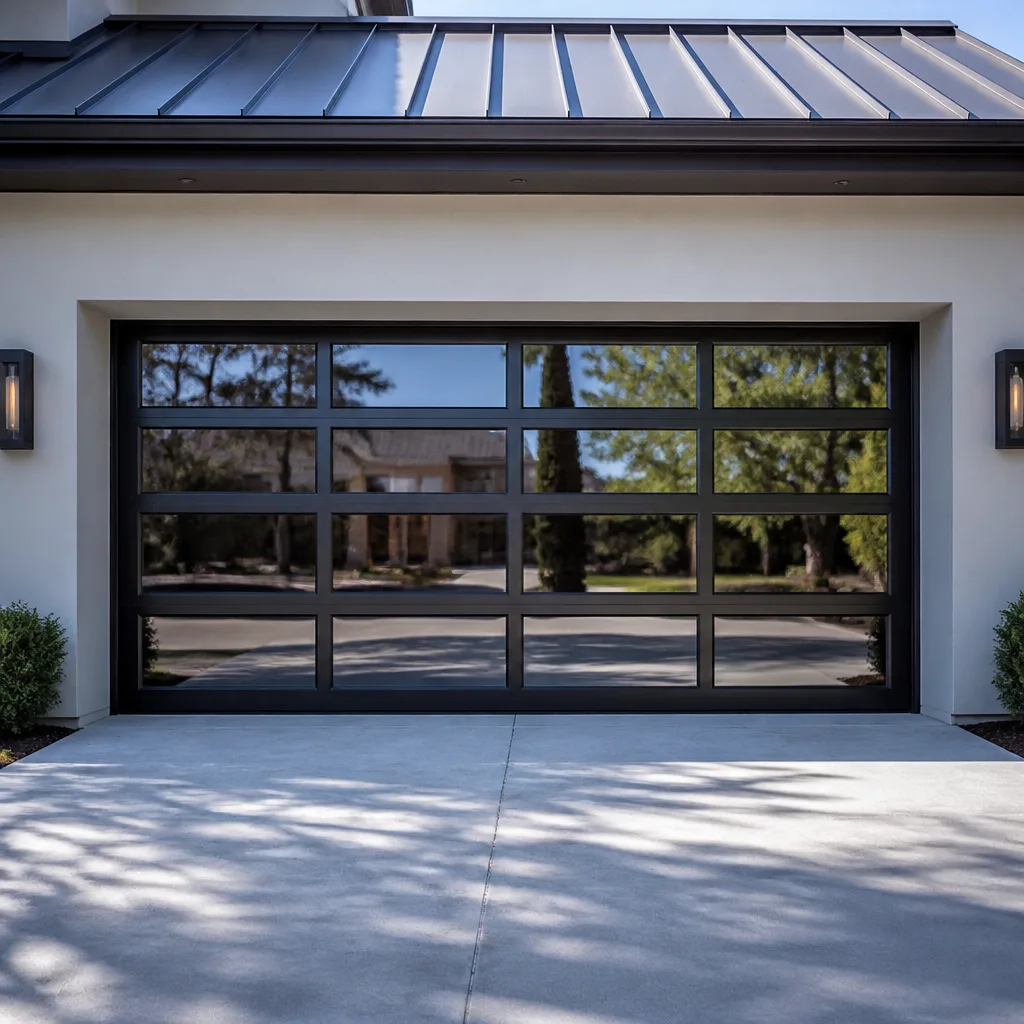 Full-view glass
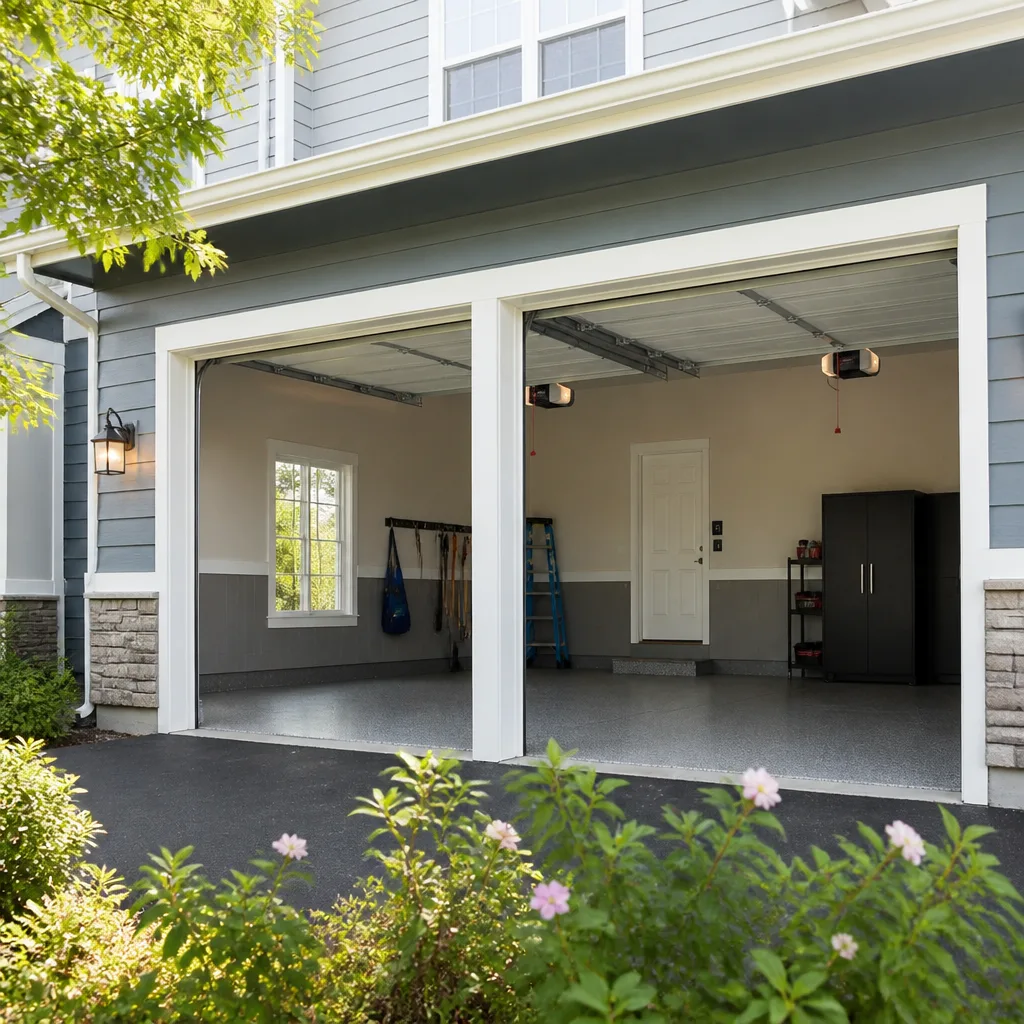 LiftMaster openers
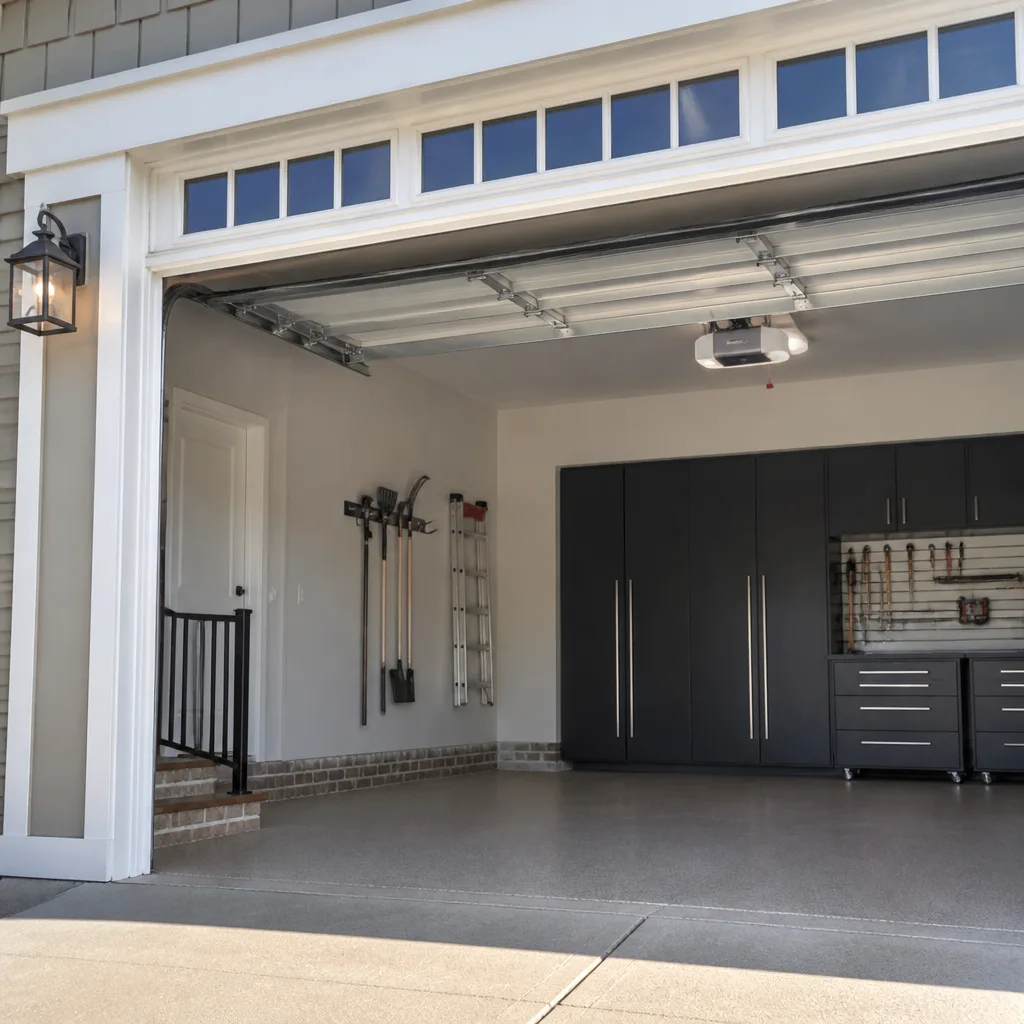 Chamberlain openers
Full 25-point door and opener safety check with every visit - springs, cables, rollers, tracks, and your LiftMaster or Chamberlain opener included
You get a price before we start. It does not change when the pro arrives.
Get your free estimateDIY vs Professional Garage Door: The Ironbound Homeowner’s Decision Guide
A torsion spring stores roughly 100 foot-pounds of torque when wound. That’s not a liability disclaimer, and it isn’t a sales tactic. It’s a physics constraint, and it makes self-repair of a garage door a different category of risk than swapping a light fixture or rehanging a cabinet door. Most home improvement decisions blur into gray: you could do it, a pro could do it, and the only real question is time versus money. Garage doors split more sharply than that. A handful of tasks sit comfortably within reach of a careful homeowner, and a few others don’t belong in amateur hands at all. This guide draws that line component by component, honestly, and includes the Ironbound-specific factors – older housing stock, non-standard framing, aging wiring – that shift the calculation in ways a generic video never mentions.
Quick Answer
The safe DIY line on a garage door is the spring and cable system: any work on torsion springs, extension springs, or the cables under load should be handled by a trained technician, because those parts hold enough stored energy to cause serious injury. Everything else – weatherseal, photo-eye sensors, remote programming, lubrication, and basic track cleaning – is genuinely within reach of a careful homeowner. For anything between those two poles, the deciding factor is usually whether the repair requires the door to come off its springs or out of its tracks, and that answer favors calling a professional.
Styles & brands we work with
- Raised-panel steel
- Carriage house
- Modern flush
- Full-view glass
- LiftMaster openers
- Chamberlain openers
Table of Contents
- What Makes a Garage Door Repair Different From Other DIY Jobs
- Component-by-Component: What You Can Safely Do Yourself
- The Tools and Skills a Safe DIY Attempt Actually Requires
- Why Ironbound’s Older Housing Stock Changes the Calculation
- Real Cost Comparison: DIY vs. Professional Repair
- When a Failed DIY Attempt Makes the Professional Repair More Expensive
- Why Brand Familiarity Matters for a First-Time Fix
- Springs and Cables: Why We Handle These Differently
What Makes a Garage Door Repair Different From Other DIY Jobs
A garage door is one of the few household systems that stores energy for later release. A torsion spring is wound under tension every time the door closes, and the system holds that tension until the spring or the cable releases it, whether or not anyone is ready. That’s the core difference from a leaky faucet or a loose hinge. When those fail, the failure is inconvenient. When a spring or cable fails while someone is kneeling under it, the failure is dangerous.
There are other factors that set garage doors apart from general home repair:
- Forces are stored, not continuous. A garage door opener may lift a 150-pound door with a small motor, but the spring is what balances that weight. When the spring releases, the door’s full weight transfers to whatever’s in the way.
- Safety systems are interlocked. Photo-eye sensors, auto-reverse, and the tension-monitor circuit on the opener are all part of one safety chain. A well-meaning adjustment in one area can disable protection in another.
- Parts are brand-specific. A spring sized for a Clopay door doesn’t necessarily match an Amarr door of the same nominal width, and the opener’s travel limits are tuned to the door’s specific geometry. Generic parts plus generic settings equals a door that works until it doesn’t.
- Failures are delayed, not immediate. A mis-set spring won’t usually break on your first cycle. It breaks a few hundred cycles later, usually when the door is being opened at the end of the day.
None of that means a homeowner shouldn’t touch a garage door. It means the case for hiring out a given repair rises sharply with how close the repair sits to the spring and cable system. That’s the dividing line this guide uses throughout. If it’s under spring tension, it’s a technician’s job. If it isn’t, most of the time it’s yours if you want it.
Component-by-Component: What You Can Safely Do Yourself
The task list below splits the most common garage door issues into three honest categories. It’s not meant to talk you out of DIY – it’s meant to tell you, part by part, where the line actually sits. If a repair lands in the “call a professional” column, the reason is almost always that the work requires working with spring tension, working on a loaded track, or opening the opener’s internals. Everything else is fair game for a careful homeowner with the right tools and a little patience.
Genuinely DIY-safe
- Replacing the bottom weatherseal. A rubber seal slides out of a channel on the bottom of the door and a new one slides back in. No tools beyond a utility knife, and no stored force involved.
- Cleaning and aligning photo-eye sensors. Wipe the lenses, check that both eyes face each other, and confirm the indicator light on each one is solid. If a bracket is bent, straighten the bracket without removing the sensor.
- Programming remotes and keypads. Every major opener brand uses a simple pairing sequence – press the learn button, press the remote twice, test the door. Chamberlain and Genie both use a similar method, though the button location differs.
- Lubricating hinges, rollers, and the torsion bar bearing plate. Use a garage-door-rated lubricant, not WD-40 or household grease. Two or three times a year is plenty. Do not lubricate the tracks themselves – a dry track is quieter than an oiled one.
- Replacing a roller or hinge (on an unloaded door). With the door fully closed and the spring relaxed, individual rollers and hinges can be swapped by hand. If the door is open and under tension, the same task becomes hazardous.
Sometimes DIY, depending on the door
- Adjusting the opener’s travel limits or force settings. This can be safe, but it changes how the opener interprets resistance, and a door set too aggressively can defeat the auto-reverse protection. If a door needs limit adjustment twice, the underlying problem is almost always the spring or the door itself.
- Replacing the opener’s backup battery. Straightforward on most models, though on newer smart-home openers with integrated lights, the battery is inside a housing that has to be removed carefully.
- Realigning a slightly off-track bottom roller. Only if the door is fully down and the roller is accessible without lifting the door. If the door has to come up even an inch, stop.
Not a DIY job
- Torsion or extension spring replacement. Spring tension must be released, the new spring wound to a specific number of turns, and the system retested. Getting this wrong can fail suddenly and without warning.
- Cable replacement or adjustment. Cables are under the same tension as springs and can release violently if the drum or anchor slips.
- Track realignment on a loaded system. Once the door is on its tracks and under spring load, nudging a rail back into place means moving a door that may not stay where you put it.
- Opener gear and logic-board replacement. The opener works on mains voltage and a logic board can be damaged by static or by crossed wires. It’s also where most diagnostic readings live.
- Any repair where the door won’t balance at the halfway point. A door that doesn’t hold at half height has a spring or cable problem, and it belongs to a technician.
The Tools and Skills a Safe DIY Attempt Actually Requires
If you’re going to work on a garage door, the tool list is longer than most videos show. The common failure mode among homeowners who try a mid-complexity job themselves isn’t laziness or lack of skill – it’s underestimating the equipment. Here’s an honest inventory of what the DIY-safe category actually requires, and what separates a homeowner repair from a technician repair:
- Correct sockets and a torque wrench. Track bolts, hinge bolts, and spring anchor bolts are typically 7/16″, 1/2″, or 9/16″ hex, and many of them need to be torqued to spec rather than cranked tight. A torque wrench isn’t optional on structural fasteners.
- A proper ladder that fits the ceiling. Torsion bars run close to the ceiling line at the top of the door. A step stool won’t reach, and a leaning ladder in the middle of a moving door is a fall risk in itself.
- A garage-door-rated lubricant. Not general-purpose grease, not silicone spray meant for windows. Both attract dirt and can gum the hinges.
- Winding rods (for the technician’s side). These are not tools a homeowner should own. Their name alone is a reminder that spring work requires controlling a wound coil.
- Basic electrical awareness. Even for a simple remote pairing, you’ll want to know where the opener’s breaker is, and whether the wall button is wired or wireless. Older Ironbound homes sometimes have the opener tied to a circuit that also feeds an outdoor light, which means the “safe” switch isn’t always where you expect.
- A second person for anything involving lifting the door. Garage doors weigh significantly more than they look, and a door that slips off a roller can come down faster than a person can react.
The skill side matters as much as the tools. A homeowner who has done framing or cabinet work will find track and hinge adjustment familiar. A homeowner who hasn’t picked up a wrench in a decade will not. That isn’t a judgment – it’s a factor in the decision, and it’s honest to weigh.
Why Ironbound’s Older Housing Stock Changes the Calculation
Ironbound homes sit on streets with some of the oldest continuous residential building stock in the region. Three-deckers, converted multi-families, and detached single-family homes that have passed through many hands sit side by side. The characteristic Ironbound garage is a small detached structure – often built later than the house its rear yard sits behind, sometimes attached to a prior shed foundation, and almost never built to the same dimensional standard as a new construction door frame. That housing stock introduces variables a general DIY video never touches.
Here’s what that means in practice, by category:
- Non-standard framing. Garage door openings in older Ironbound structures often sit slightly out of square. A replacement spring that matches the manufacturer’s spec for a 16-foot Clopay door may still fail to balance a door hanging in an opening that’s off by an inch over eight feet. The technician’s job is to see that geometry before picking the spring.
- Aging electrical. Many Ironbound garages still run on circuits that were extended from the main house decades after the original build. Openers on those circuits experience voltage drops that look like logic-board failures. A technician diagnoses the difference; a homeowner often replaces a board that was fine.
- Attic and shed conversions. When a garage has been used as storage, workspace, or a converted room, the door may have been retracked or re-sprung for a different load without updating the framing. Spring sizing for those doors has to be calculated against how the door actually hangs today, not how the factory drew it.
- Mixed-era hardware. A single Ironbound garage can hold a spring from one era, an opener from another, and a set of hinges from a third. That’s not a problem in itself, but it does complicate any repair where parts have to match.
This is the point where the DIY question gets local. In a newer build with standard framing and a bonded electrical panel, a homeowner doing a mid-level adjustment has a clearer field. In Ironbound, the same adjustment may sit on top of a variable that won’t be obvious until the door doesn’t work. That doesn’t make every repair a professional job. It does mean that anything around tracks, springs, or opener wiring deserves a pause that a suburban owner might not need to take.
Real Cost Comparison: DIY vs. Professional Repair
Pricing DIY against professional repair isn’t just parts versus labor. The honest calculation includes the cost of the tools you don’t yet own, the cost of the time, the risk of an incorrect installation, and the value of the warranty on the work. Below is the line-item comparison most homeowners actually face, priced in general terms. All figures are typical estimated ranges – your written estimate will set the exact price for your door.
| Item | Typical DIY cost | Typical professional cost |
|---|---|---|
| Weatherseal replacement | $15-$40 in parts | $80-$150 installed |
| Photo-eye sensor replacement | $20-$45 in parts | $100-$200 installed, including wiring check |
| Single torsion spring replacement | Not recommended | $180-$340 for one spring; a matched pair runs about twice that |
| Opener gear and board replacement | $60-$150 in parts, plus opener model risk | $180-$380 including diagnosis |
| Track realignment | Not recommended | $120-$260 |
| Cable replacement | Not recommended | $150-$300 |
| New garage door installation | Not recommended | Estimate by door style and opening |
The pattern in the table isn’t subtle. The tasks where DIY saves money are the ones closest to $100 in professional cost. The tasks where professional cost is higher are the ones where DIY risk is highest. That asymmetry is the point. Saving $50 on a weatherseal is a rational DIY decision for many homeowners. Saving $200 on a spring replacement by skipping the professional isn’t – not because the pro is indispensable, but because the small cost difference isn’t worth the increase in physical risk.
One more line item that rarely makes it into the DIY comparison: warranty. A professional repair carries a warranty on the work itself, and on the parts if they’re supplied. If a part fails within the warranty period, it’s replaced. If a DIY-installed part fails, the cost to fix it falls back on the homeowner, and often at a higher rate because the first repair has to be corrected before the second one starts. For a full replacement where the door and opener are chosen together, a garage door installation handled professionally is the only way to align the warranty on both components.
When a Failed DIY Attempt Makes the Professional Repair More Expensive
A failed DIY attempt is rarely just a wasted afternoon. It changes the door’s condition in ways that make the eventual professional repair longer. These are the scenarios we see most often, in order of how they usually play out:
- A wound-down spring that’s been rewound wrong. When a homeowner winds a torsion spring to the wrong number of turns, the door may balance for a while and then fail. By the time a technician sees it, the spring itself may be fine but the cables have stretched unevenly. What would have been one spring replacement becomes a spring-and-cable job.
- A bent track after an off-angle adjustment. Trying to close a gap between a roller and its track by tapping the track usually bends the rail slightly rather than moving it. A slightly bent track damages the rollers over a few weeks of use. A track repair becomes a track-and-roller repair.
- A bypassed safety sensor. Some homeowners zip-tie a photo-eye sensor into a “closed” position because the door won’t shut. That disables the auto-reverse, and by the time a technician arrives, the opener itself has often been re-programmed several times trying to solve the wrong problem.
- A wrong-size replacement spring. Springs are matched to the door’s weight and drum size, not to the door’s width. A spring that fits physically but doesn’t match the door’s balance will work for a few hundred cycles and then fail, often damaging the drum or the cable in the process.
- An opener board swapped for the wrong model. Opener logic boards are model-specific. A Chamberlain board doesn’t go into a Genie unit, and a Craftsman board from a discontinued series won’t always work with a current remote. A homeowner who swaps a board that turns out to be the wrong board can usually return it, but the diagnostic hours spent chasing an incompatible part don’t come back.
- An opener that was re-programmed into a corner. Travel limits rewound too far, force settings pushed to max, and a wall button held down through the whole test. What looked like an opener failure may just be an opener that’s been set to push through resistance that shouldn’t be there. Untangling those settings is a technician’s job, and it’s slow.
The pattern here isn’t “DIY always fails.” It’s that the failures that matter cluster around springs, cables, and tracks – the same three areas flagged earlier. When a homeowner’s attempt lands outside those areas, the repair usually stays simple. When it lands inside, the final cost tends to land higher than if the professional had been called first.
Why Brand Familiarity Matters for a First-Time Fix
Garage door openers and doors aren’t interchangeable in the way a light bulb is. Springs, hinges, and logic boards are matched to specific model families, and the diagnostic sequence an experienced technician runs changes depending on which brand and generation they’re looking at. That’s why we work across the major brands – Chamberlain, LiftMaster, Genie, Clopay, Amarr, Wayne Dalton, Craftsman, and Raynor – and why a first-time fix on any of those usually comes down to reading the model correctly before ordering anything.
The difference shows up in a few specific ways:
- Chamberlain and LiftMaster share engineering lineage, but their remotes and control boards have diverged across generations. A LiftMaster-era learn button placement is different from a Chamberlain one, and pairing steps differ on newer models with MyQ-style connectivity.
- Genie units tend to have their travel-limit controls in a different location than Chamberlain, and older Genie screw-drive models have a distinctive wear pattern on the carriage that mimics a logic-board failure.
- Clopay and Amarr doors are often the deciding factor on spring sizing, because the two brands use different panel weights for similar nominal sizes. Picking a spring without knowing the door brand and model is one of the more common DIY mistakes we correct.
- Craftsman and Raynor openers, especially older ones, sometimes fail in ways that are best resolved by replacing a specific component rather than the whole unit.
You don’t need to know which brand matches which repair to make the DIY decision – but you do need to know that the decision isn’t purely mechanical. If you’ve confirmed the door’s brand, its model, and the specific symptom, a professional diagnosis is faster than a trial-and-error loop. If you haven’t, the professional’s first move is likely to be the same brand-and-model check, and skipping that step yourself is one reason DIY attempts on mid-complexity repairs tend to run long.
Springs and Cables: Why We Handle These Differently
This is the one section of this guide we’d write the same way for any homeowner, in any city, with any door. Torsion springs and cables are the only parts of a garage door system that store enough mechanical energy to seriously injure a person who mishandles them. That’s not a scare line. It’s the reason spring repair is a standard, dedicated service at our shop, and the reason we don’t talk homeowners through winding, unwinding, or releasing them over the phone.
What matters to know, without turning this into instruction:
- Springs are wound, not compressed. A torsion spring at rest is a relaxed coil. When it’s in service, it’s wound a specific number of turns – typically somewhere in the seven to nine range for a residential door, depending on the install – and it holds that tension until the door closes. That stored energy is what balances the door’s weight, and it’s also what releases when the spring fails.
- A failing spring is loud, fast, and unpredictable. When a torsion spring fails, it typically snaps with a sound like a gunshot and the door becomes extremely heavy. Whether that failure causes injury depends entirely on whether someone is under the door when it happens.
- Cables are under the same tension. Once a homeowner releases the spring, the cables can still hold residual tension. If the drum slips while a homeowner is working on a cable, the release is not gentle.
- Extension springs (used on some older doors) need safety containment. A single extension spring failure can whip a steel rod or cable across the garage. Doors running extension springs should always have the safety cables and containment rods installed – and if they don’t, that’s a reason to call a technician rather than to buy a kit and install one.
Our stance is simple: spring repair and cable work belong to a trained technician. Everything else on the door is fair game for a careful homeowner, and we’ll gladly talk you through the non-spring repairs. If you’re not sure which category your repair falls into, the safest move is to call and describe the door. That’s also the fastest. A technician can listen to the noise, ask three or four questions, and tell you in a short call whether the repair is a same-day fix or a scheduled service. For anything that isn’t a spring or a cable, we can usually point you to a fix you can do safely yourself. For anything that is, we’ll come look at it and give you an exact price before any work starts.
For a full picture of the repairs we handle across the door lifecycle, the garage door repair page covers cables, tracks, hinges, panels, and rollers. If the issue is traceable to the motor or the sensors rather than the door itself, garage door opener repair is the right starting point, and it’s particularly useful for Wi-Fi and smart-home openers where pairing is often the whole problem.
Common Mistakes to Avoid
- Wind-down a torsion spring without winding rods and a plan. Pressing a screwdriver into the winding cone to “see if it’s tight” is how torsion springs release on the person doing the checking. If the spring needs to come off, it’s a technician’s job.
- Buy a universal spring online. Springs are matched to the door’s weight and drum size, not to the door’s width. A universal spring can fit physically and still leave a door unbalanced, which burns out the opener over a few months.
- Zip-tie a photo-eye sensor into a fixed position. Bypassing the safety sensor means the door no longer auto-reverses, and it often looks like an opener problem for weeks before anyone figures out the sensor was the issue.
- Adjust the opener’s force limit to push through resistance. Pushing the force setting higher doesn’t fix a heavy door, it hides the fact that the spring or cable is the problem. A door that needs max force is a door that’s about to fail a different way.
- Lubricate the tracks along with the hinges. Hinges, rollers, and the torsion bearing plate want lubricant. Tracks don’t. Oil on the tracks collects grit and turns a smooth door into a noisy one.
- Try a non-standard-sized replacement door without measuring the opening. Ironbound garages frequently sit slightly out of square, and a door measured only at the widest point can fail to fit the frame it’s actually going into. If you’re replacing a door, measure the opening at three heights and both sides, not just once at the top.
- Ignore a door that’s suddenly heavy on the way up. A door that used to lift easily and now feels like it’s twice the weight is telling you the spring is losing tension. A door that feels heavy is a door that’s about to stop.
See the difference
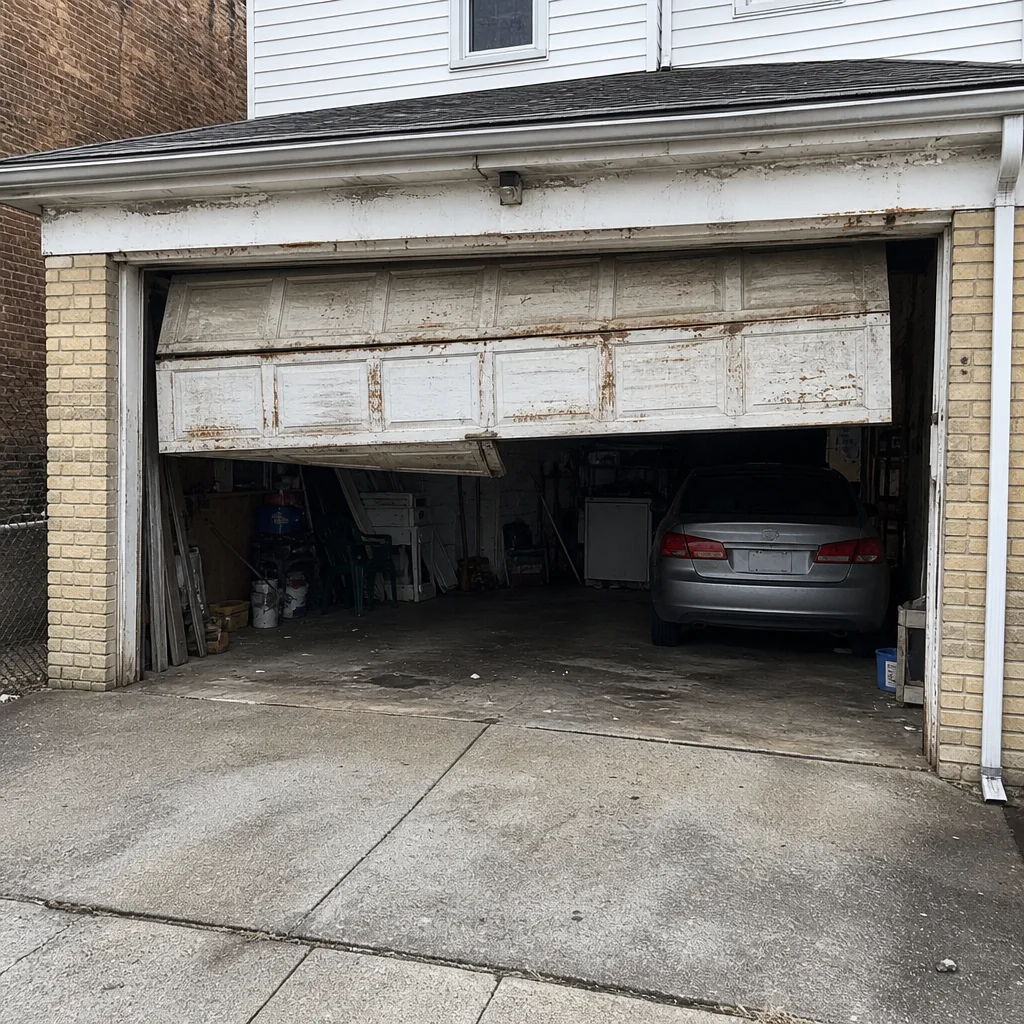 Before
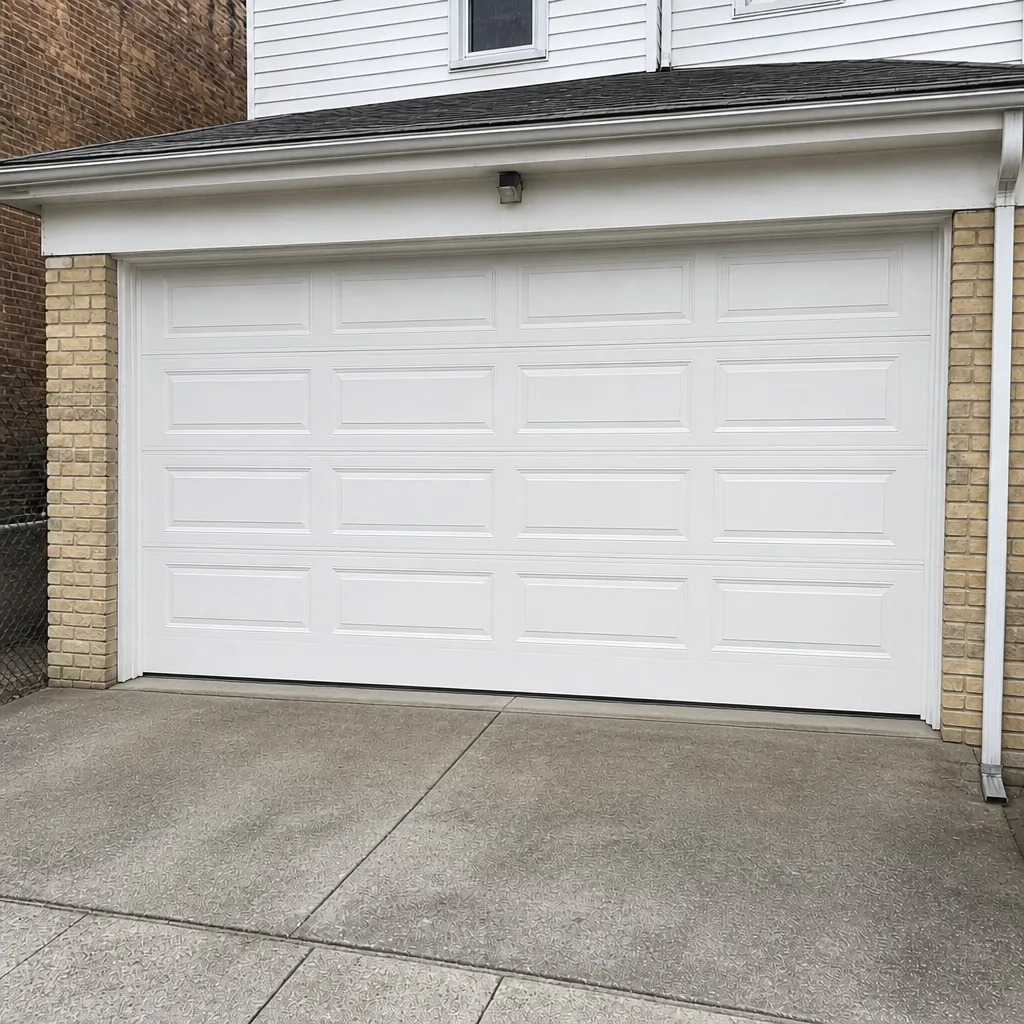 After
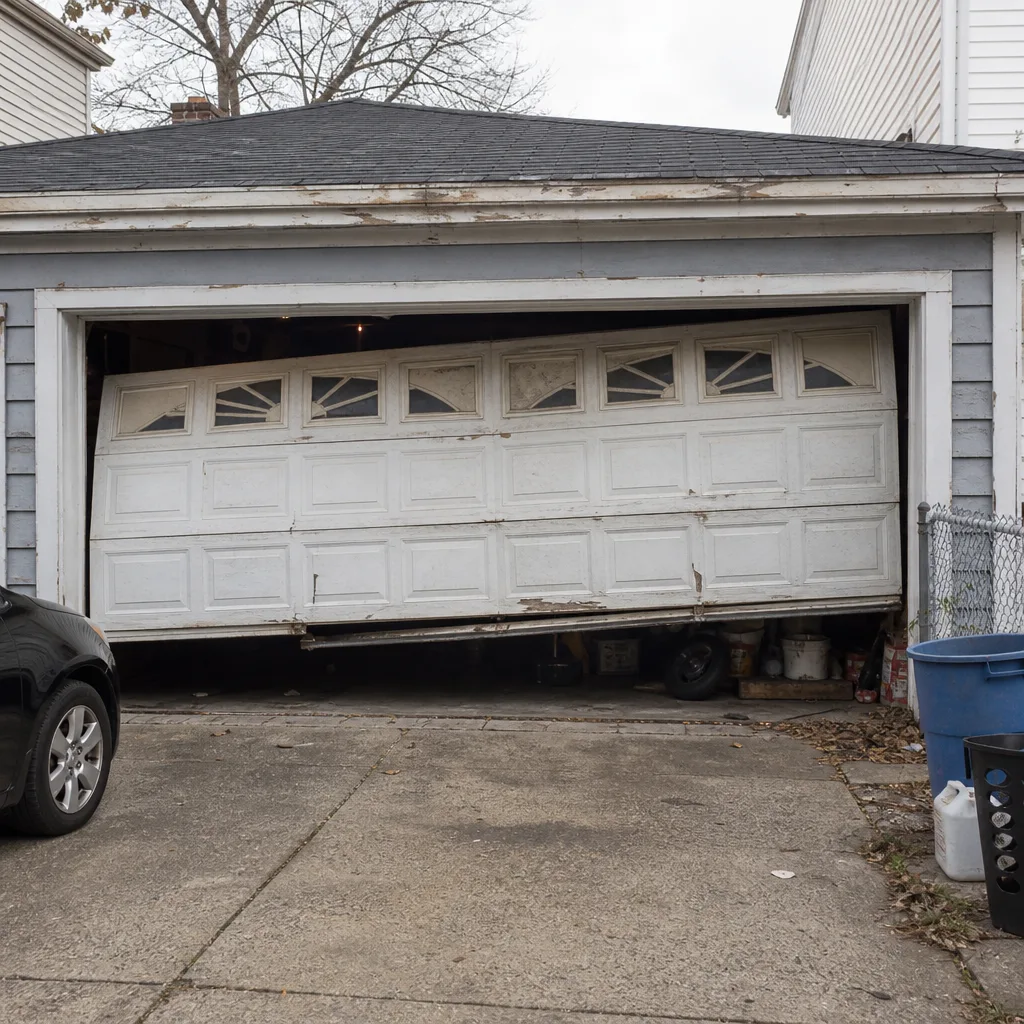 Before
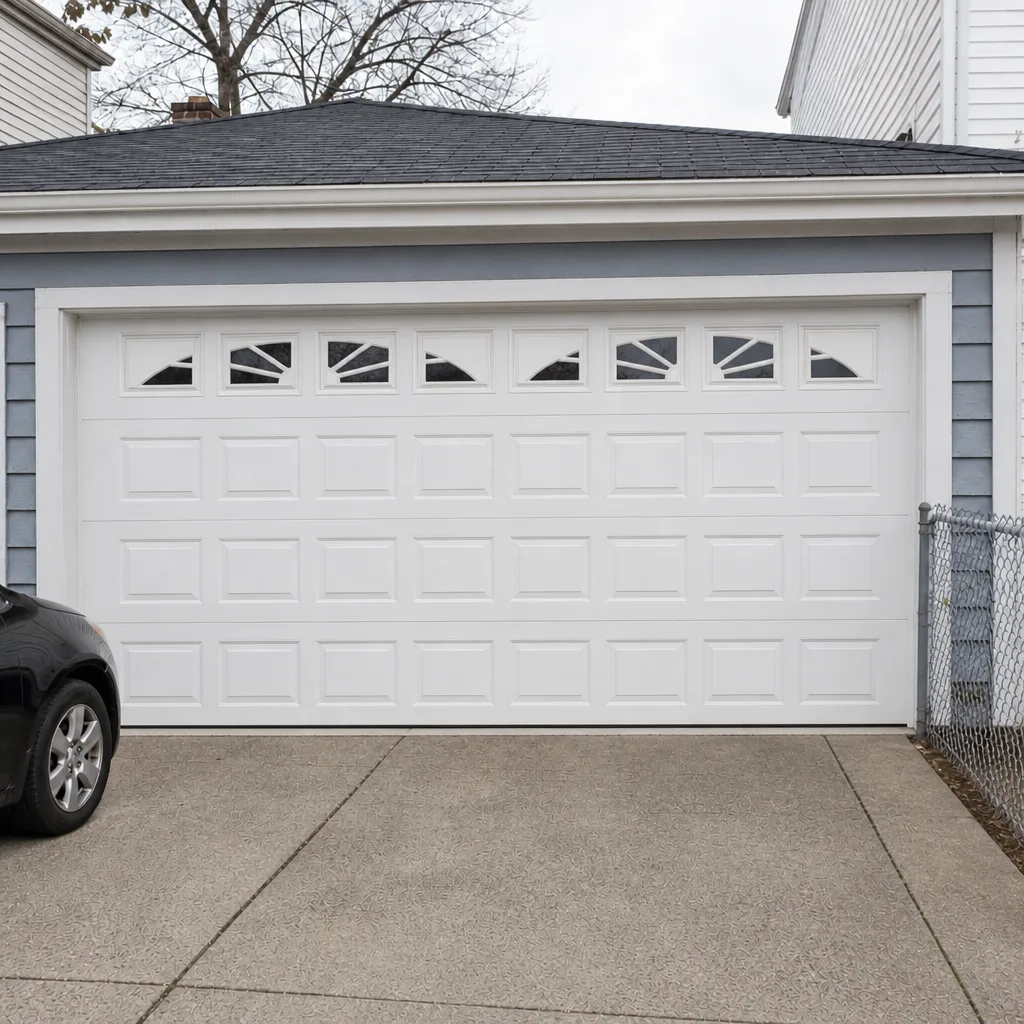 After
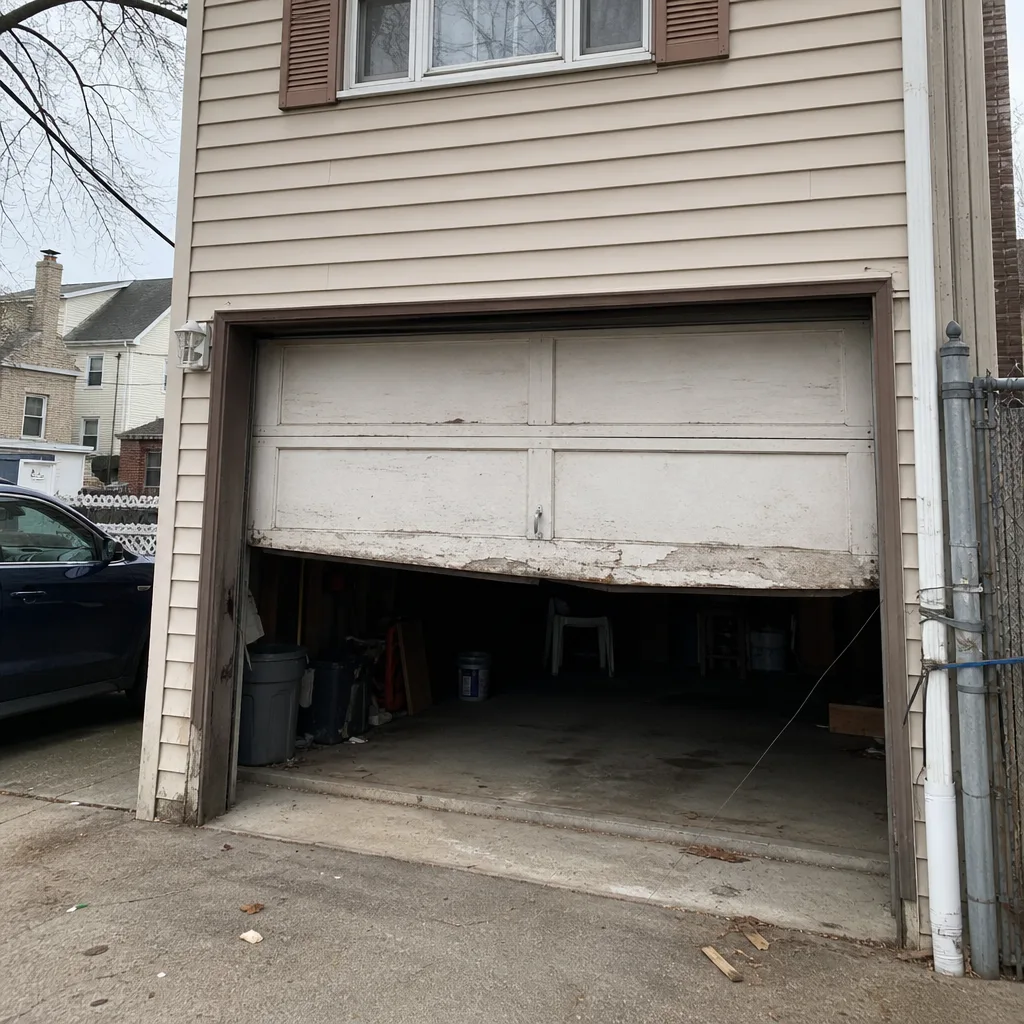 Before
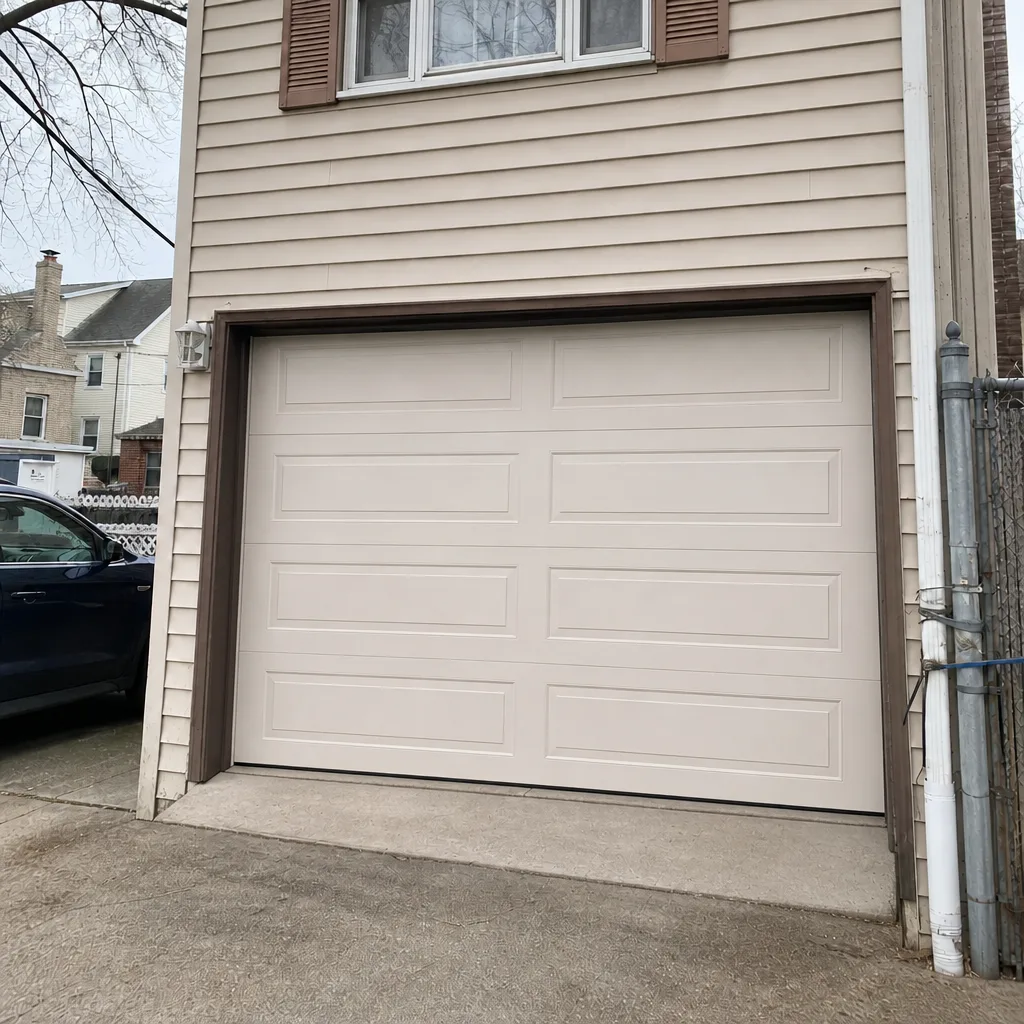 After
When to Call a Professional
Call a professional if the repair involves any of the following: a snapped, sagging, or visibly stretched spring; a cable that has come off its drum; a door that will not balance at the halfway point when lifted by hand; any track that has visibly bent or pulled loose from the frame; an opener that has failed after being reset and reprogrammed; a photo-eye sensor whose wiring tests bad at the wall; or anything that puts the door itself in motion while you’re near it. If you’re unsure, err on the side of calling. It’s a short call, and no charge for the conversation. Garage Door Repair Ironbound offers free estimates in Ironbound – call (855) 337-1035, and we’ll tell you which category your repair is in before we quote anything. Emergency service is available for doors that won’t close, doors that won’t open, and springs that have failed. For fixes that fall outside the emergency list, we can usually schedule the service around your week – weekends are closed, so anything after a Saturday failure gets booked for Sunday.
Frequently Asked Questions
No. Spring replacement is not a safe DIY job, because torsion springs and extension springs are wound under enough stored energy to cause serious injury if they release unexpectedly. The winding, unwinding, and retesting steps require specific tools and experience with a loaded system, and a spring that isn’t sized correctly to your door can fail again quickly. Call (855) 337-1035 for a free estimate; we’ll give you the exact price before any work starts.
A typical single-spring replacement runs $180-$340, and a matched pair – which is normally replaced together – runs about twice that. Cable replacement typically runs $150-$300, and track realignment runs $120-$260. These are estimated ranges; the written estimate sets your final price before any work starts. Call (855) 337-1035 for an exact quote; estimates are free.
Yes, emergency garage door service is available for doors that won’t close, doors that won’t open, and springs that have failed. When you call, describe what the door is doing – or isn’t – and we’ll get a technician out as quickly as possible. Fast dispatch runs 7am to 7pm, and we’re closed on Saturday, so a Saturday failure gets booked for Sunday. During the call, we can also tell you roughly what the repair will cost so there are no surprises on the invoice.
No. Once we’ve diagnosed the door, the price we quote is the price you pay. If the diagnosis turns up a second issue – a track that’s bent in addition to the spring that failed – we’ll quote both jobs separately and you decide which to do. What we won’t do is quote one price and invoice another. Call (855) 337-1035 for a free estimate.
Yes. The local professional we connect you with is licensed and insured as their state requires, and our technicians have up to 9 years of experience working across LiftMaster, Chamberlain, Genie, Clopay, Amarr, Wayne Dalton, Craftsman, and Raynor doors and openers. If you have a brand-specific question before booking, we can usually answer it over the phone. Call (855) 337-1035 to talk through the door.
Weatherseal replacement, photo-eye cleaning and alignment, remote and keypad programming, lubrication of hinges and rollers, and swapping a single roller or hinge on an unloaded door are all genuinely within reach of a careful homeowner. Anything that involves spring tension, cables, or a loaded track is a technician’s job – not because the task is technically complex, but because the failure mode is dangerous. If you’re not sure which side a repair falls on, call and describe it.
The Bottom Line
The DIY vs. professional question for a garage door has a cleaner answer than most home repair decisions. The line sits at the spring and cable system. Anything under spring tension belongs to a technician – not because amateurs can’t hold a wrench, but because spring failure is dangerous and predictable failures are worse than they look. Everything else – weatherseal, sensors, remotes, lubrication, and a careful single-roller swap – is genuinely within reach, and we’ll happily point you toward the safe repairs. Ironbound’s older housing stock adds a second consideration: non-standard framing and aging electrical mean a mid-level repair can sit on top of variables a generic video never mentions. When the repair is near the spring, the cable, or the opener’s internals, the decision is easy – call a professional. When it isn’t, save the call, do the safe repair yourself, and keep the number for when it’s not. For anything you’re not sure about, call (855) 337-1035 for a free estimate and a straight answer on which category your repair falls into.
For the full service list and to see how we handle repairs across the door lifecycle, start with Garage Door Repair Ironbound. If the door itself needs to be replaced rather than repaired, we price that by estimate after a measure – no same-day promise, just a written price. Our technicians have up to 9 years of experience across every major brand, and both repairs and emergency calls are handled by the same team that answers the phone.
Written by the team at Garage Door Repair Ironbound.